
Introduction
For artists and art lovers, non-fungible tokens (NFTs) are all the rage. Not only can you buy, sell, and trade NFTs on a blockchain like Ethereum, but you can also create your very own using a service like AutoMinter. No coding knowledge required! Here’s how to get started:
- Get an Ethereum Wallet
- Create a project on AutoMinter
- Design your layer images
- Label the metadata
- Generate the artwork
- Auto-generate the smart contract and mint website
1. Get an Ethereum Wallet
First, you should sign up for an Ethereum wallet. You can do this by downloading the Metamask browser extension and installing it on Chrome or Firefox.
Once you’ve installed the extension
2. Sign in to AutoMinter
- visit autominter.co
- Connect your wallet and sign the message in the metamask popup.
- Make sure you have some ETH in your wallet. You can do this via any exchange such as coinbase, bittrex or binance.
3. Design your layer images
Designing your layer images is a matter of layering different images on top of one another, you can do this in Photoshop or any image editing software. All the layers should be transparent, which will allow them to show through when overlapped with other layers.
You’ll want to make sure that the images are high quality and have dimensions up to 1200×1200 pixels in size.
Once you’ve designed all of your image layers, save them as PNGs (.png files)
4. Upload your images
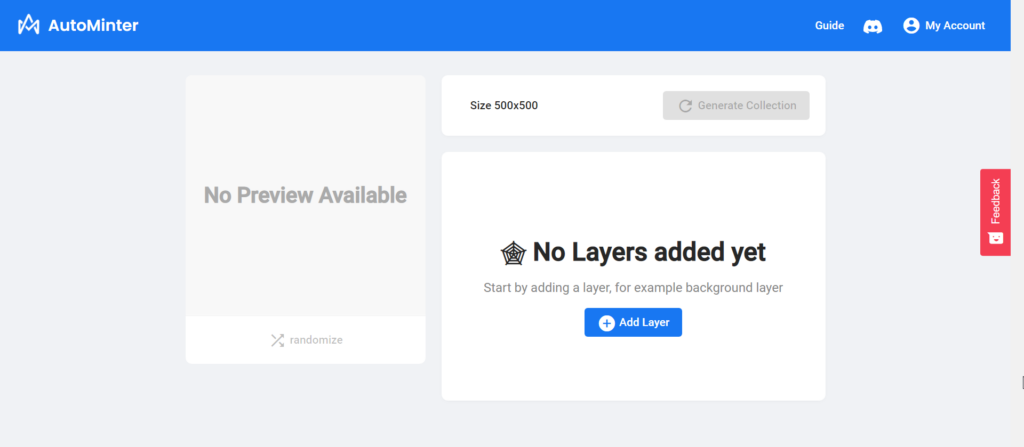
- In autominter create a project
- Upload your images
- Create layers for each type of image you have, for example all hats in the “hat layer” and backgrounds in the “background” layer
- Press the preview button to see random examples based on your existing images, or press generate to start from scratch with new ones (this may take a few minutes)
- Make sure that all layers are in the correct order, it helps if all hats show up before any backgrounds do, so you can reorder them with the order button.
5. Label the metadata
- The last thing you’ll need to do is label the metadata. This will make sure that the images are organised properly and can be easily edited by adding or removing traits.
- Change the image names to reflect the trait attributes, and change the layer name to reflect its category. For example: “hat” as the layer name, and “baseball cap” as the specific image name.
- Do this for all the images.
6. Generate your artwork
Now that you have a collection ready to be generated, it’s time to create your artwork! To do this, click on the “generate artwork” button at the top of the page. Here you can enter how many NFTs you want in your collection and press generate. If you are generating more than 1000 it may take a long time to generate.
Add your NFTs to the blockchain
Once you have the generated artwork, it’s time to add your NFTs to the blockchain. To do this:
- Press “add to blockchain” when you are ready
- You will need to pay a small deployment fee in ETH as well as gas for deploying your NFT on Ethereum (the gas price is set by miners). Make sure that there is enough ETH in your wallet for this!
- Confirm the transaction in your wallet and you will see a complete screen with all of your assets
Conclusion
I hope this guide has shown you how easy it can be to create and upload your own NFTs. If you’ve got any questions, please contact me on Discord and I’ll help out as best I can.